Interior installation & refurbishment
Specialist in kitchen and bathroom fitting, bespoke interior installation and house and office
Ideas, advices and practical information
Tiles onto wooden floor
Tiling onto a wooden sub floor is one those jobs where some technical knowledge and practical experience is required. I'm called so many times to review and repair not well fitted tiles to a wooden subfloor. Although one would think in times of Google and Smartphone there is nothing easier than go online and find information or video about almost any subject, or at least read what has manufacture of the product to say on the package. Still many guys are oblivious and make basic mistakes. So i would like to summarise here all general information about this subject. I found lots of information on the internet and chose technical list of WEBER which nicely describes all options and offers salutations for number of problems and ARDEX technical list of floor tile adhesive (manufacture that is my personal favourite for wall and floor tiling)
I’m not too keen on fixing tiles on original floorboards and all possible combinations as the article describes bellow. If anything use at lease the HARDIE BACKER. I’m sure that there are situation where you have to go this way but i always prefer to play safe. So i personaly recommend using WBP (Water and Boil Proof) plywood starting on absolute minimum of 18mm.The larger area the thicker ply. Basically when you stump on the floor you should feel strong, sturdy floor without any flexing. Making sure that all timbers and noggins are secured as best as possible. Don’t hesitate to ‘over do it’ . Plywood should be fixed with a good quality crews 10-15 centimetres apart. Any joint must be supported by timber underneath. Surface needs to be primed as manufacture of particular adhesive requires and of course a flexible grout such as MAPEI
Tiling on WBP Plywood

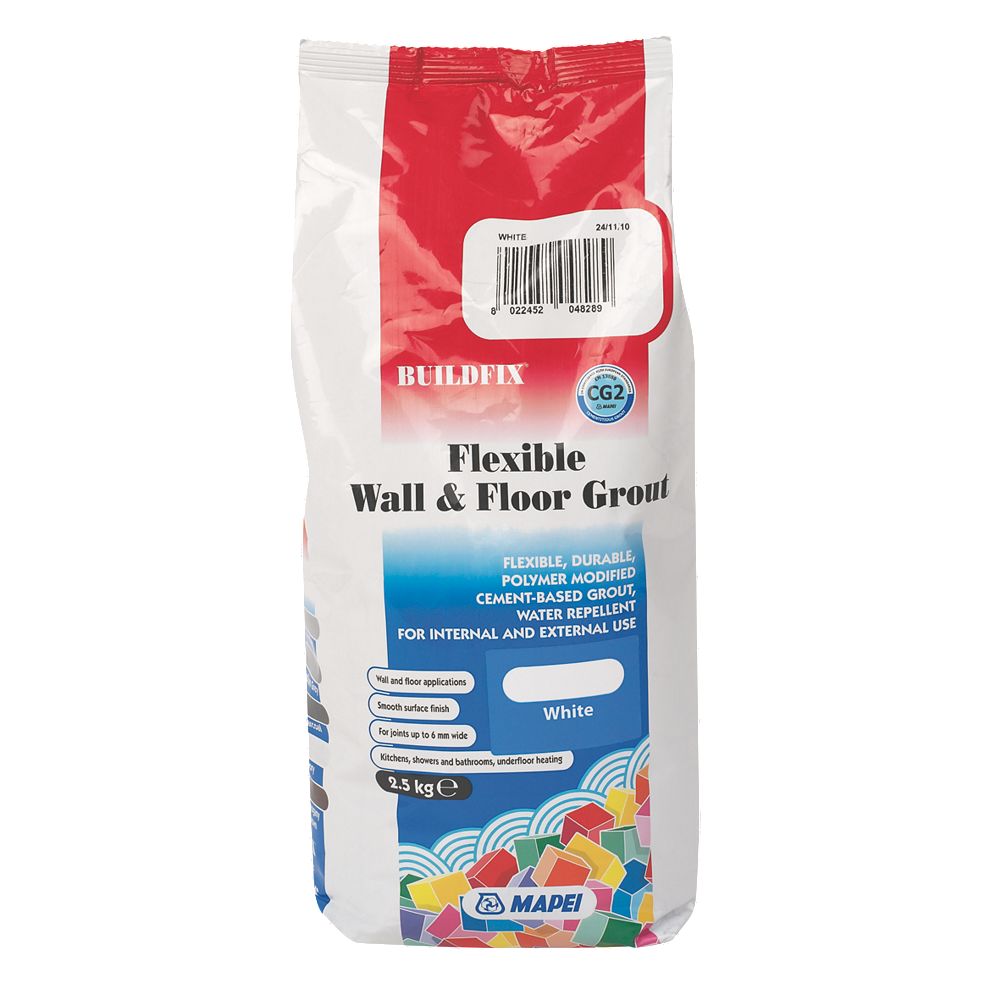
MAPEI flexible grout
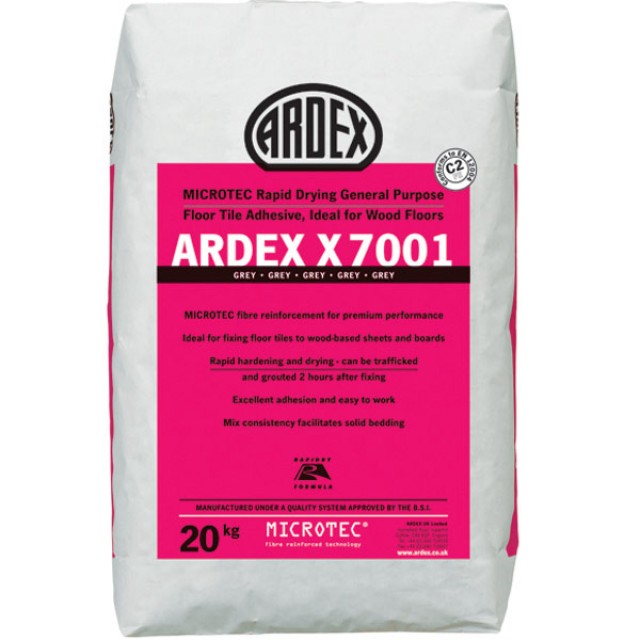
ARDEX X 7001 flexible adhesive
WEBER system
(download PDF version)
Tiling onto wood
Timber floors and ceramic tiles are not natural bedfellows - tiles are inherently rigid and brittle whereas timber floors are flexible. There are many types of wooden floor but in principle the challenges that they present to the tiler are all the result of this mismatch. There are a number of contributing sources of movement in timber floors which need to be considered.
Problem
1. General deflection due to the applied load (bounce)

The floor will deflect according to the load applied and the stiffness of the structure (joint size, spacing etc).
If the adhesive is not flexible or laid thick enough to absorb the amount of movement, the tiles will either delaminate or crack.
Large tiles will exacerbate the deflection across each tile's width.
2. Localised movement at unsupported board joints (creak)


Any inadequately supported joint will cause a highly localised movement which will crack the tile. Joints may be supported by joists, noggings, or each other's tongues and grooves.
3. Temperature related expansion and contraction

Wood expands and contracts with changes in ambient temperature at a different rate to mortars, ceramics and stones.
As a further complication, timber expands much more across the grain than it does along the grain (this is not really a factor with manufactured boards such as plywood).
4. Moisture/humidity related expansion and contraction

Wood swells if it gets wet even with changes in atmospheric humidity.
This can be a problem in potentially wet areas such as showers and bathrooms and also if the wood is not dry when installed (e.g. if it has been kept outside).
Solution
Solution 1. Overboarded with plywood or tile backer-board
The most secure system for tiling wooden floors is to screw fix another layer of boarding over the top of the original timber. This increases the rigidity of the floor, prevents localised movement and if a water-resistant tile backer board is used, virtually eliminates moisture-related movement. Screwing the boards down also helps prevent any pullout of fixings.
Stage 1: Assess and prepare the floor
Make sure the floor will be capable of supporting the expected load with minimal deflection. It must be stable, well supported, ventilated underneath and level. Brace any areas that need extra support with noggings between the joists. Any defective boards should be cut out and replaced. Existing boards should be screwed down to joists with two screws at each end and another two wherever they cross joists.
Stage 2: Fix the over-boarding

For small floors with no noticeable deflection 9mm WBP plywood can be used for over-boarding. If there is some limited deflection, a minimum of 15mm WBP plywood or equivalent tile backer board should be used. Prime the back and edges of plywood with weber PR360. Lay the boards so that the joints do not coincide with the joints in the existing timber and leave gaps of approximately 2mm between boards and 5mm at the perimeter for expansion. Screw the plywood or tile backer board to the floorboards every 200 - 300mm using corrosion resistant screws. Fill the gaps between boards and the perimeter with weber.joint silicone sealant. If there is still noticeable movement in the floor, another layer of plywood or tile backer board may be needed.
Stage 3: Fix the tiles
Fix the tiles into a solid bed of weber.set rapid SPF at least 3mm thick. Leave joints at least 3mm wide for grouting and make provisions for movement.
Stage 4: Grout
Leave the adhesive to set for 2 to 3 hours. Fill the joints between tiles with weber.joint wide flex or weber.joint pro. Use weber.joint silicone sealant to fill the perimeter movement joints.
Solution 2. Tile directly onto tongued and grooved boards or sheets
It is possible to tile directly onto tongued and grooved wooden floors by using a highly polymer-modified 2-part adhesive, providing that the floor is rigid enough and the tongued and grooved joints provide effective support. If the tiles are larger than approximately 400mm square, over boarding is recommended.
Stage 1: Assess and prepare the floor
Make sure that the floor will be capable of supporting the expected load with minimal deflection. It must be stable, well supported, ventilated underneath and level.
Ensure that each board is effectively supported by its adjacent boards without localised movement. Replace any defective boards and insert noggings between the joists if necessary. Screw the boards to the joists using two screws per board at every joist and prime with weber PR360.
Stage 2: Fix the tiles

Fix the tiles into a solid bed of weber.set rapid plus & weber AD250 at least 5mm thick. It may be necessary to back butter the tile to achieve this.
Leave joints at least 3mm wide for grouting and make adequate provision for movement (especially around the perimeter and dividing large areas into bays).
Stage 3: Grout
Leave weber.set rapid plus & weber AD250 to set for 2 or 3 hours. Fill the joints between the tiles with weber.joint wide flex or weber.joint pro. Use weber.joint silicone sealant to fill the perimeter movement joints.
Solution 3. Tile directly onto plywood
If the floor consists of sheets that do not support each other, it is necessary to ensure that each edge is fully supported underneath. If the tiles are small (not more than 400 x 400mm) weber.set rapid SPF is adequately flexible. For larger tiles use weber.set rapid plus & weber AD250.
Stage 1: Assess and prepare the floor
Make sure that the floor will be capable of supporting the expected load with minimal deflection. It must be stable, well supported, ventilated underneath and level.
The sheets should be of exterior grade plywood and at least 18mm thick. It may be necessary to increase the thickness if heavy loads are anticipated or if the joists are spaced more widely than normal. Replace any defective sheets and fit noggings between the joists beneath any unsupported sheet edges. Prime the back and edges of plywood with weber PR360.
Screw the sheets to the joists/noggings every 200 - 300mm, leaving 2mm to allow for expansion. Fill the gaps with weber.joint silicone sealant to prevent them being filled with tile adhesive when fixing the tiles.
Stage 2: Fix the tiles

Fix the tiles into a solid bed of weber.set rapid SPF at least 5mm thick. It may be necessary to back butter the tile to achieve this.
Leave joints at least 3mm wide for grouting and make adequate provision for movement (especially around the perimeter and dividing large areas into bays).
Stage 3: Grout
Leave weber.set rapid SPF to set for 2 or 3 hours. Fill the joints between the tiles with weber.joint wide flex or weber.joint pro. Use weber.joint silicone sealant to fill the perimeter movement joints.
Solution with the following Weber products
Solution 1
weber PR360
Styrene acrylate dispersion for use with tile adhesives, levelling compounds and weber.sys protect
weber.set rapid SPF
A rapid-setting, flexible, low-dust, cement-based floor and wall tile adhesive, available in light grey or white for interior and exterior use.
weber.joint wide flex
A wide-joint, mould-resistant, flexible tile grout for interior and exterior use
weber.joint pro
A water-repellent, mould-resistant, flexible tile grout for interior and exterior use
weber.joint silicone
Acetoxy curing silicone sealant that cures to form a tough, flexible, water tight seal – available in clear, white and a range of colours
Solution 2
weber PR360
Styrene acrylate dispersion for use with tile adhesives, levelling compounds and weber.sys protect
weber.set rapid plus
A rapid-setting tile adhesive for low-porosity tiles and substrates
weber AD250
An acrylic primer and admixture for use with cement-based adhesives
weber.joint wide flex
A wide-joint, mould-resistant, flexible tile grout for interior and exterior use
weber.joint pro
A water-repellent, mould-resistant, flexible tile grout for interior and exterior use
weber.joint silicone
Acetoxy curing silicone sealant that cures to form a tough, flexible, water tight seal – available in clear, white and a range of colours
Solution 3
weber PR360
Styrene acrylate dispersion for use with tile adhesives, levelling compounds and weber.sys protect
weber.set rapid SPF
A rapid-setting, flexible, low-dust, cement-based floor and wall tile adhesive, available in light grey or white for interior and exterior use.
weber.joint wide flex
A wide-joint, mould-resistant, flexible tile grout for interior and exterior use
weber.joint pro
A water-repellent, mould-resistant, flexible tile grout for interior and exterior use
weber.joint silicone
Acetoxy curing silicone sealant that cures to form a tough, flexible, water tight seal – available in clear, white and a range of colours
![]()